Protect 200 (NV200)User Manual
Intended Purpose
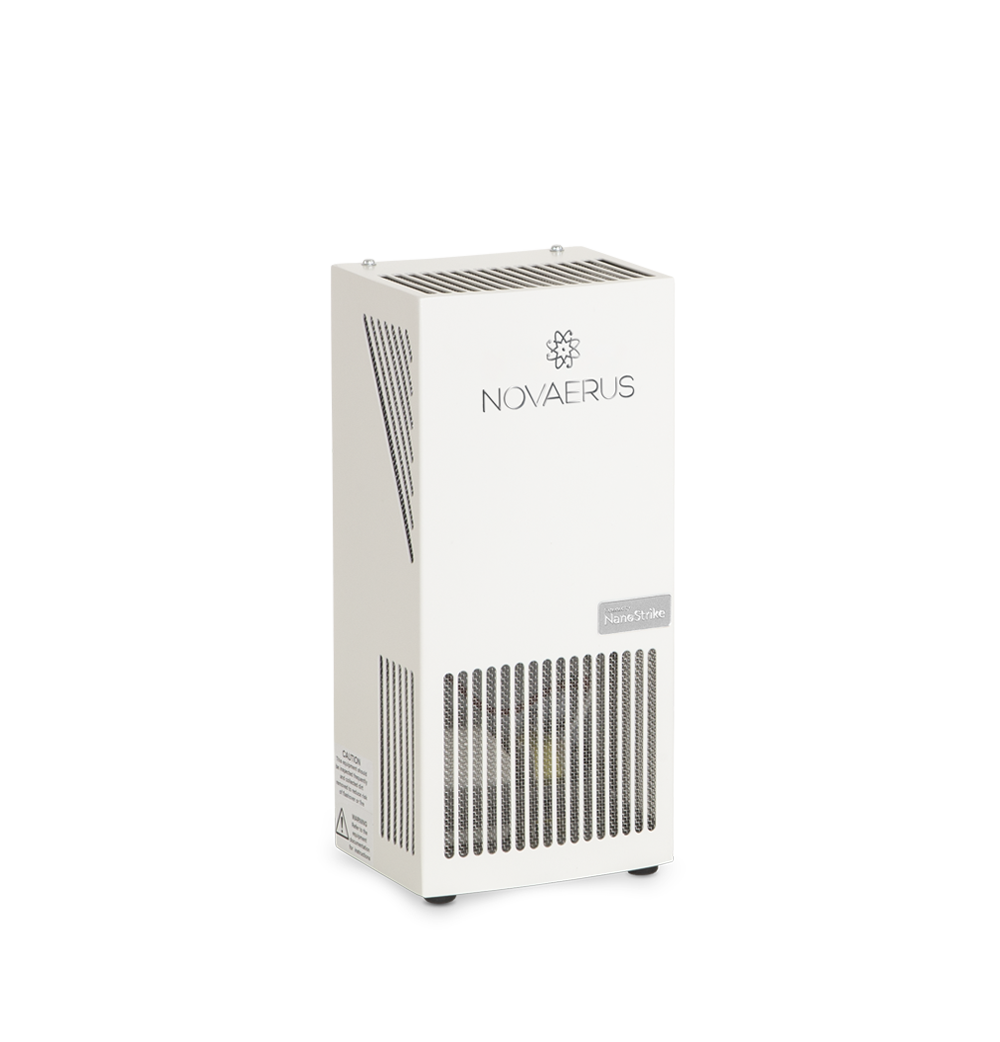
The intended purpose of the NOVAERUS NV200 Air Purifier is to improve the quality of air. Please read and follow all instructions in this manual.
Labeling Symbols
Symbol | Meaning |
| Caution, Consult Users Manual |
| Caution, High Voltage |
|
Date of Manufacture |
| Manufactured For or By |
| Serial Number |
|
This product conforms to North American safety standard. |
| On (Power) |
| Off (Power) |
| Accompanying documents must be consulted. |
| Indicates the temperature limits to which the medical device can be safely exposed. |
| Indicates the range of humidity to which the medical device can be safely exposed. |


Classification of Equipment
Item | Classification |
Protection of Harmful Ingress of Water | IPX0 (No protection, Indoor Use Only) |
Mode of Operation | Continuous |
Oxygen Rich Environments | Not intended for Oxygen Rich Environments |
Warnings
General Warnings |
CAUTION: This equipment contains high voltage |
CAUTION: This equipment should be inspected frequently and collected dirt removed from it regularly to prevent excessive accumulation that may result in flashover or a risk of fire. |
CAUTION: To avoid the risk of electric shock, this equipment must only be connected to a supply mains with protective earth. |
CAUTION: This equipment shall only be installed by a qualified installer. |
CAUTION: No modification of this equipment is allowed. |
CAUTION: Do not modify this equipment without authorization of the manufacturer. |
CAUTION: Do not restrict the air flow of the product. |
CAUTION: Do not open the tamper proof screws on the casing of the unit. No serviceable parts are contained within. The units should be opened by qualified Novaerus personnel only. |
CAUTION: Do not position the equipment where it is difficult to operate the power switch. |
CAUTION: For continued protection against risk of fire, replace the fuse with the same type and rating, Listed, 125VAC 3 Amps. |
CAUTION: The non-detachable power supply cord is not field replaceable by service personnel. If damaged is found during inspection, the device should be immediately disconnected from power and returned to Novaerus. |
CAUTION: Do not use outdoors or near water. |
CAUTION: Not to be used by persons (including children) with reduced physical, sensory or mental capabilities, or lack of experience and knowledge, unless they have been given supervision or instruction. |
CAUTION: To reduce the risk of electric shock, this equipment has a grounding type plug that has a third (grounding) pin. This plug will only fit into a grounding type power outlet. If the plug does not fit into the outlet, contact qualified personnel to install the proper outlet. Do not alter the plug in any way. |
Technical Specifications
- Dimensions: 5.2” w x 11.1” h x 4.3” d
- Weight: Approx. 7.6 lb.
- Power Requirements: 120 VAC, 60 Hz, 0.08 A
- Fuse Specification: 125 VAC, 3 Amps, Listed
- Mounting: Wall mountable, countertop or stand-alone
- Fan Air Flow: 50 ft3/min
- Shipping / Storage Conditions: 5°C-50°C, Maximum 95% Relative Humidity
- Operating Conditions: 10 - 35°C, 10 - 75% Relative Humidity, 2000m
The product should be placed in a dry location and connected to a suitable grounded outlet. The product is intended to be either placed on a flat surface or wall mounted. If wall mounting is desired, please follow the instructions provided in the Wall Mounting Instructions included in this document. Once the product is installed, turn the power switch to the on position. The device is now operating.
Wall Mounting Instructions
The mounting of this product shall be conducted by a trained service person that is experienced with the proper use of standard installation tools such as a drill, screw driver, tape measure and level.
The product can be wall mounted using suitable fasteners for your wall type. Fix the screws horizontally with a spacing of 2-1/2”. Leave the screw head protruding no more than 0.5 “ from the wall for hanging.
Ensure screws are tightly secured into the wall and a solid connection is made between the screws and the unit. Ensure the product is level. Follow these instructions depending upon mounting surface:
For hollow wall construction studded with metal or wood framing and sheathed with Drywall, Plaster, or Plywood, an appropriate hollow wall such as a #10 re-usable anchor.
Each of the two reusable anchors must be rated for a 20.0 lbs. rating minimum and be the appropriate size for the sheathing thickness. Use #10 size minimum.
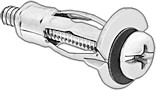
Typical drill size is 3/8” for the #10 re-usable anchor shown. Follow manufacturer’s instructions.
For concrete or masonry wall construction
Purposed 3/16” concrete screws
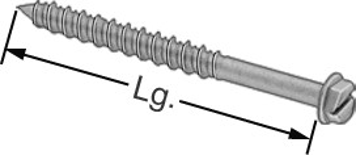
Each of the two screws must be rated for 20.0 lb minimum.
Typical drill size is 5/32” for the 3/16” concrete screw. Follow manufacturer’s instructions. Follow manufacturer’s recommendation for drill depth for screws being used.
Various types of concrete inserts are available that are adequate for use in concrete, such as conical lead or flanged Polypropylene that will be adequate for installation of the rack mount bracket. They must be individually rate to support 20.0 lb minimum.
Use sizes that support a #10 screw minimum.

Typical drill size is 5/16” for the #10 conical lead anchor for concrete. Follow manufacturer’s instructions. Follow manufacturer’s recommendation for drill depth for insert being used.
Typical drill size is 1/4” for the #10 flanged Polypropylene anchor for concrete. Follow manufacturer’s instructions for drill depth for insert being used.
For plywood wall construction
Use #10 1” screw, each of the two screws must be rated for 20.0 lbs. minimum.
Service and Maintenance Instructions
Do not open the tamper proof screws on the casing of the unit. No serviceable parts are contained within. The units should only be opened and serviced, if necessary, by qualified Novaerus personnel.
Cleaning:
The unit should be visually inspected on a monthly basis for accumulation of dirt and dust on the wire mesh screen that is located inside the unit chassis. The wire mesh is clearly visible from the outside of the unit. It is recommended that the unit be cleaned using a vaccum cleaning brush from the outside of the unit to remove any dirt and dust that may have accumulated on the wire mesh screen.
Troubleshooting
Should the unit sustain severe damage and an increase in noise from the internal parts is observed, discontinue use of the unit and contact a representative of the Novaerus technical team for assistance. This product is not intended to be repaired in the field.
Should the unit not power on, check to ensure that the fuse located on top of the unit is secured tightly in its socket.
Product Certifications
IEC 60601-1, 60601-1-2, LVD, CE, UL 867, CARB, CSA, KCC, JQA, ISO 9001, ISO 14001, OHSAS 45001
Was this article helpful?
That’s Great!
Thank you for your feedback
Sorry! We couldn't be helpful
Thank you for your feedback
Feedback sent
We appreciate your effort and will try to fix the article